
Transform Your Space with Stunning Wood Slat Walls: A Complete Guide to Installation, and Design Ideas

This week my home office had a complete transformation from a boring white box to a gorgeous workspace with character. The biggest part of this transformation is thanks to the Wood Veneer Hub! I had the pleasure of transforming my workspace using their stunning Luxury American Oak Acoustic Slat Wood Wall Panels. With over 6 million views on TikTok, my transformation videos went viral, showcasing the ease and beauty of installing these panels. Join me as I take you through the step-by-step process and offer inspiration for your own space.
Step-by-Step Installation Guide:
Plan and visualize
First things first, I wanted to create a vision for my office. I gathered inspo from Pinterest and IG from searching the term #woodslatwall. Next, using tools like Photoshop, I mocked up different design ideas until I found the perfect layout. While you don’t need to go as far as making a mock up, it was essential to have a clear plan before starting the transformation!


Gather materials:
With The Wood Veneer Hub as my go-to supplier, I got my hands on their exquisite Luxury American Oak Acoustic Slat Wood Wall Panels. I ordered seven packs, which come with two panels each, of the panels with a height of 94.49", and they arrived in perfect condition, ready to bring my vision to life.
Prepare the walls
Before starting the installation, I cleared my office space and prepared the walls. I removed any existing fixtures or decorations and ensured the walls were clean and smooth. We covered the wall sockets with a blank plate even though the acoustic felt is A-class fire retardent. This step is crucial for a seamless application of the wood panels.
Apply felt strip *optional
Since my wood panels didn't reach the 9ft ceiling, I got creative. Inspired by a friend's suggestion, I decided to utilize the empty space at the ceiling by adding a strip of felt along the top of the wall. This created a unique opportunity to create a stunning wall of plants that added a vibrant touch to the room.
Install the wood panels:
Now came the exciting part: installing the wood panels. We started on the left with the felt lip in the corner. With a few screws, I securely attached the panels to the wall, you’ll definitely want two people to hold them securely in place. It was amazing to see how seamlessly they locked into place, creating a modern and sophisticated look that took us less than an hour.
Add finishing touches:
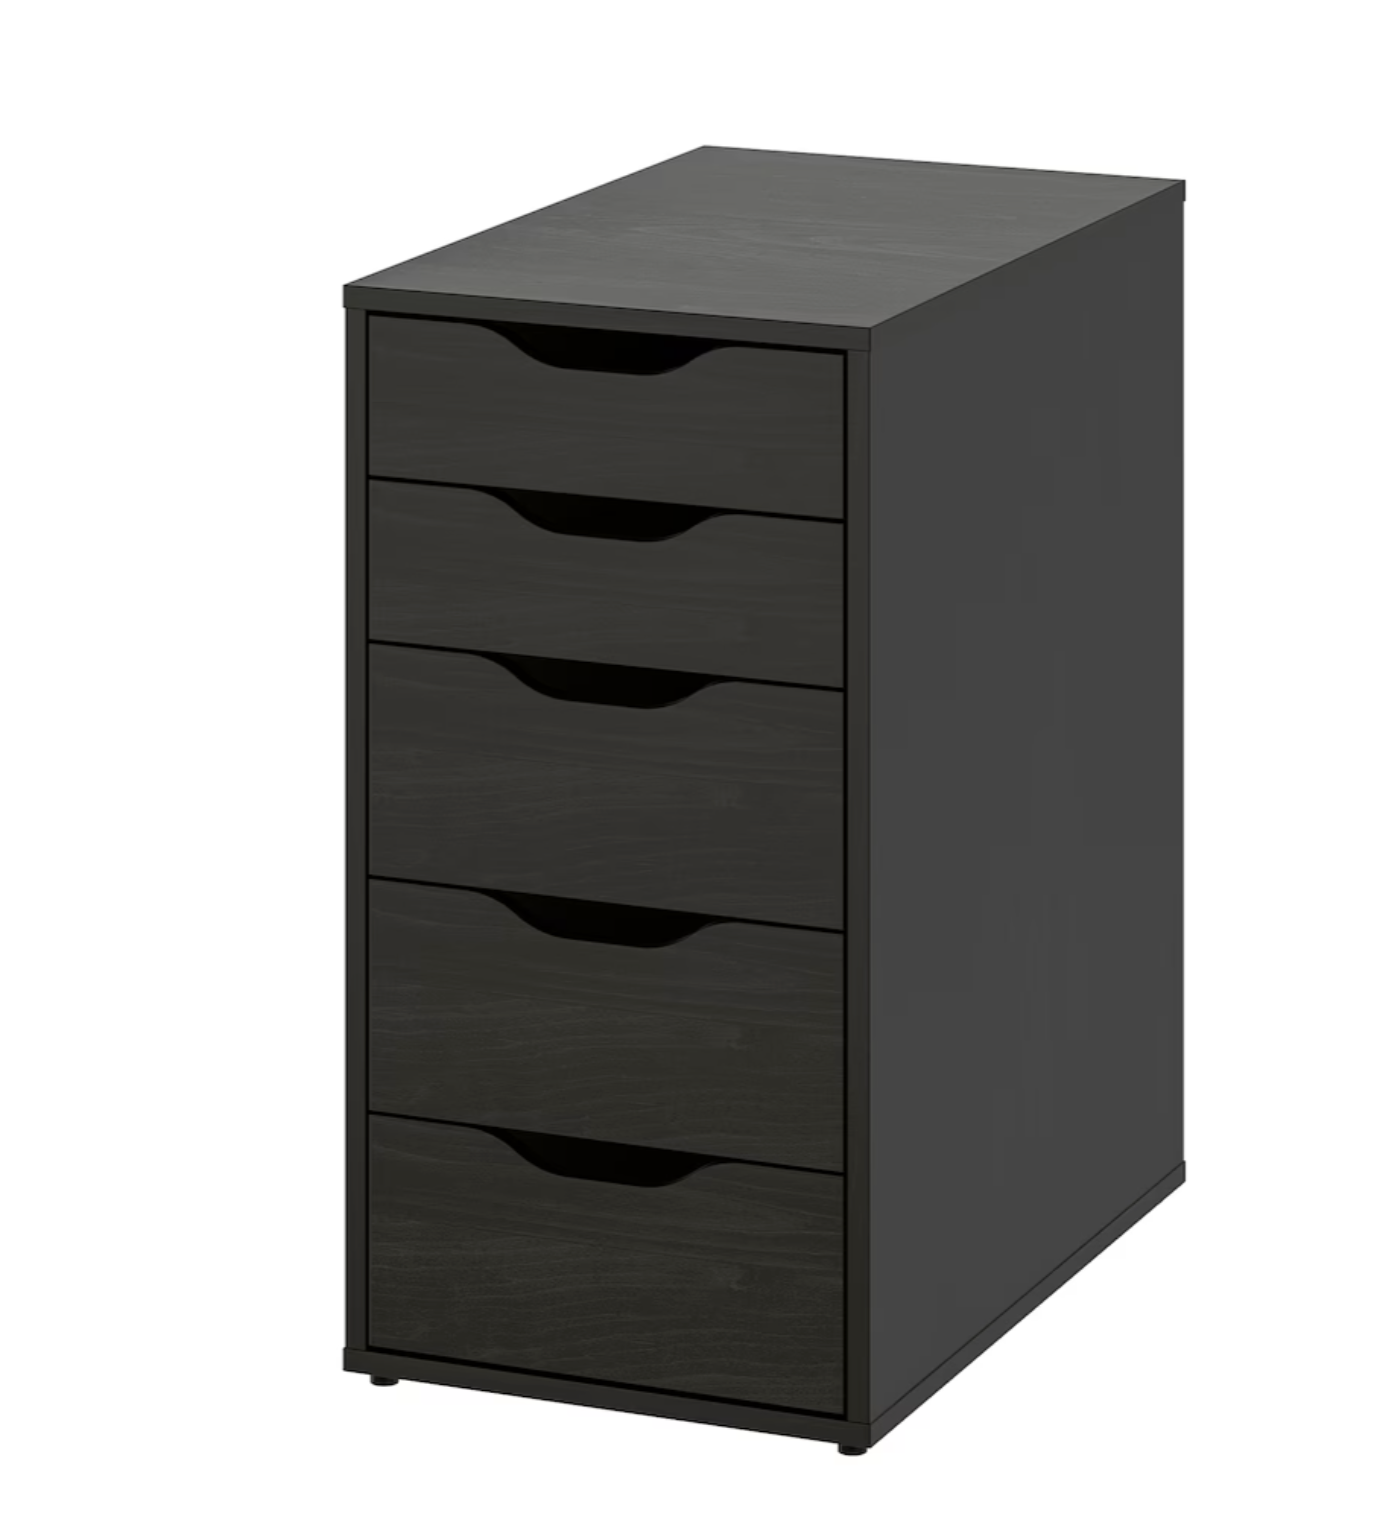
With the wood panels in place, it was time to add the finishing touches. I incorporated additional furniture and accessories to create a cohesive working environment. Inspired by The Wood Veneer Hub's panel design, I opted for two separate gaming desks from Ikea, connected with a shelf unit in the middle for added stability. I’ll link my exact furniture below.
Decorate and personalize:
To make my office truly unique, I added personal touches and decorations. The plant wall turned out phenomenal. We used an Ikea frame shelf to hold our individual pothos plants. We went with live plants but you could easily do fake ones to avoid watering. The final touch for us was adding some photos for a personal touch. These elements brought life and personality to my workspace, making it a place I truly loved.
Thanks for joining me on this amazing journey with The Wood Veneer Hub. As Karlie Place, a satisfied customer, I couldn't be happier with the transformation of my office space. With their incredible Luxury American Oak Acoustic Slat Wood Wall Panels, the installation process was a breeze, and the results were beyond my expectations. I hope my experience has inspired you to explore the possibilities of using wood panels to enhance your own space. Get creative, have fun, and let your personal style shine through. Here's to creating an office you'll absolutely adore!

USE CODE KARLIEPLACE AT CHECKOUT
MY EXACT SETUP:


More on the Blog


